


This should take overall.

This 3D Model consists of files in StereoLithography (.Stl) format that is optimized for 3D printing.
Before printing the files, we strongly recommend reading the PRINTING DETAILS section.
Conqueror Tank 3D Printing Model comes in 3 versions adapted to be printed on FFF/FDM printers. Files for each version are available for download after the purchase.
Detailed information about this 3D printing model is available in the DESCRIPTION section.

|
|||||
|---|---|---|---|---|---|
| File Name | File Size | Time / Filament | Object Size (x/y/z mm) |
||
|
A1 (repaired).stl |
0.01 MiB | 18 min <1 m | 6 x 6 x 89 | Download | |
|
A2 (repaired).stl |
0.03 MiB | 8 min <1 m | 6 x 6 x 38 | Download | |
|
A3 (repaired).stl |
0.03 MiB | 9 min <1 m | 6 x 6 x 39 | Download | |
|
B1 (repaired).stl |
0.45 MiB | 3 h 8 min 2 m | 36 x 67 x 17 | Download | |
|
B2 (repaired).stl |
0.48 MiB | 4 h 11 min 3 m | 29 x 97 x 20 | Download | |
|
B3 (repaired).stl |
0.45 MiB | 4 h 2 min 2 m | 43 x 72 x 18 | Download | |
|
B4 (repaired).stl |
0.45 MiB | 3 h 8 min 2 m | 36 x 67 x 17 | Download | |
|
B5 (repaired).stl |
0.48 MiB | 4 h 12 min 3 m | 29 x 97 x 20 | Download | |
|
B6 (repaired).stl |
0.45 MiB | 4 h 2 min 2 m | 43 x 72 x 18 | Download | |
|
C1 (repaired).stl |
0.65 MiB | 1 h 13 min 1 m | 29 x 30 x 20 | Download | |
|
C2 (repaired).stl |
0.65 MiB | 1 h 13 min 1 m | 29 x 30 x 20 | Download | |
|
C3 (repaired).stl |
0.65 MiB | 1 h 13 min 1 m | 29 x 30 x 20 | Download | |
|
C4 (repaired).stl |
0.65 MiB | 1 h 13 min 1 m | 29 x 30 x 20 | Download | |
|
C5 (repaired).stl |
0.65 MiB | 1 h 13 min 1 m | 29 x 30 x 20 | Download | |
|
C6 (repaired).stl |
0.65 MiB | 1 h 13 min 1 m | 29 x 30 x 20 | Download | |
|
C7 (repaired).stl |
0.65 MiB | 1 h 13 min 1 m | 29 x 30 x 20 | Download | |
|
C8 (repaired).stl |
0.65 MiB | 1 h 13 min 1 m | 29 x 30 x 20 | Download | |
|
C9 (repaired).stl |
0.65 MiB | 1 h 13 min 1 m | 29 x 30 x 20 | Download | |
|
C10 (repaired).stl |
0.65 MiB | 1 h 13 min 1 m | 29 x 30 x 20 | Download | |
|
C11 (repaired).stl |
0.65 MiB | 1 h 13 min 1 m | 29 x 30 x 20 | Download | |
|
C12 (repaired).stl |
0.65 MiB | 1 h 13 min 1 m | 29 x 30 x 20 | Download | |
|
C13 (repaired).stl |
0.65 MiB | 1 h 13 min 1 m | 29 x 30 x 20 | Download | |
|
C14 (repaired).stl |
0.65 MiB | 1 h 13 min 1 m | 29 x 30 x 20 | Download | |
|
C15 (repaired).stl |
0.65 MiB | 1 h 13 min 1 m | 29 x 30 x 20 | Download | |
|
C16 (repaired).stl |
0.65 MiB | 1 h 13 min 1 m | 29 x 30 x 20 | Download | |
|
C17 (repaired).stl |
0.28 MiB | 17 min <1 m | 17 x 17 x 9 | Download | |
|
C18 (repaired).stl |
0.28 MiB | 17 min <1 m | 17 x 17 x 9 | Download | |
|
C19 (repaired).stl |
0.28 MiB | 17 min <1 m | 17 x 17 x 9 | Download | |
|
C20 (repaired).stl |
0.28 MiB | 17 min <1 m | 17 x 17 x 9 | Download | |
|
C21 (repaired).stl |
0.28 MiB | 17 min <1 m | 17 x 17 x 9 | Download | |
|
C22 (repaired).stl |
0.28 MiB | 17 min <1 m | 17 x 17 x 9 | Download | |
|
C23 (repaired).stl |
0.28 MiB | 17 min <1 m | 17 x 17 x 9 | Download | |
|
C24 (repaired).stl |
0.28 MiB | 17 min <1 m | 17 x 17 x 9 | Download | |
|
C25 (repaired).stl |
1.51 MiB | 5 h 25 min 3 m | 58 x 73 x 30 | Download | |
|
C26 (repaired).stl |
1.51 MiB | 5 h 25 min 3 m | 58 x 73 x 30 | Download | |
|
C27 (repaired).stl |
1.51 MiB | 5 h 25 min 3 m | 58 x 73 x 30 | Download | |
|
C28 (repaired).stl |
1.51 MiB | 5 h 25 min 3 m | 58 x 73 x 30 | Download | |
|
C29 (repaired).stl |
1.51 MiB | 5 h 25 min 3 m | 58 x 73 x 30 | Download | |
|
C30 (repaired).stl |
1.51 MiB | 5 h 25 min 3 m | 58 x 73 x 30 | Download | |
|
C31 (repaired).stl |
1.51 MiB | 5 h 26 min 3 m | 58 x 73 x 30 | Download | |
|
C32 (repaired).stl |
1.51 MiB | 5 h 26 min 3 m | 58 x 73 x 30 | Download | |
|
C33 (repaired).stl |
0.12 MiB | 1 h 29 min 1 m | 30 x 34 x 37 | Download | |
|
C34 (repaired).stl |
0.12 MiB | 1 h 28 min 1 m | 30 x 34 x 37 | Download | |
|
CT1 (repaired).stl |
4.39 MiB | 26 h 45 min 8 m | 86 x 161 x 49 | Download | |
|
CT2 (repaired).stl |
2.09 MiB | 12 h 9 min 4 m | 8 x 173 x 49 | Download | |
|
CT3 (repaired).stl |
2.20 MiB | 14 h 8 min 4 m | 9 x 180 x 49 | Download | |
|
CT4 (repaired).stl |
4.39 MiB | 28 h 13 min 8 m | 85 x 163 x 49 | Download | |
|
CT5 (repaired).stl |
4.39 MiB | 26 h 45 min 8 m | 86 x 161 x 49 | Download | |
|
CT6 (repaired).stl |
2.20 MiB | 14 h 20 min 4 m | 9 x 180 x 49 | Download | |
|
CT7 (repaired).stl |
2.09 MiB | 12 h 6 min 4 m | 8 x 173 x 49 | Download | |
|
CT8 (repaired).stl |
4.39 MiB | 28 h 4 min 8 m | 85 x 163 x 49 | Download | |
|
E1 (repaired).stl |
20.57 MiB | 14 h 15 min 7 m | 127 x 130 x 9 | Download | |
|
E2 (repaired).stl |
1.05 MiB | 7 h 4 min 3 m | 124 x 62 x 9 | Download | |
|
F1 (repaired).stl |
5.44 MiB | 8 h 40 min 8 m | 68 x 80 x 42 | Download | |
|
F2 (repaired).stl |
24.57 MiB | 10 h 12 min 8 m | 58 x 180 x 22 | Download | |
|
F3 (repaired).stl |
14.57 MiB | 8 h 51 min 7 m | 58 x 153 x 20 | Download | |
|
F4 (repaired).stl |
4.07 MiB | 8 h 35 min 7 m | 60 x 76 x 37 | Download | |
|
F5 (repaired).stl |
5.44 MiB | 8 h 39 min 8 m | 68 x 80 x 42 | Download | |
|
F6 (repaired).stl |
24.57 MiB | 10 h 11 min 8 m | 58 x 180 x 22 | Download | |
|
F7 (repaired).stl |
14.57 MiB | 8 h 51 min 7 m | 58 x 153 x 20 | Download | |
|
F8 (repaired).stl |
4.07 MiB | 8 h 35 min 7 m | 60 x 76 x 37 | Download | |
|
G1 (repaired).stl |
0.04 MiB | 2 h 26 min 1 m | 22 x 178 x 11 | Download | |
|
G2 (repaired).stl |
0.04 MiB | 2 h 26 min 1 m | 22 x 179 x 11 | Download | |
|
G3 (repaired).stl |
0.01 MiB | 2 h 23 min 1 m | 18 x 160 x 9 | Download | |
|
G4 (repaired).stl |
0.01 MiB | 2 h 23 min 1 m | 18 x 160 x 9 | Download | |
|
G5 (repaired).stl |
0.26 MiB | 1 h 10 min 1 m | 24 x 54 x 27 | Download | |
|
G6 (repaired).stl |
0.30 MiB | 45 min <1 m | 30 x 22 x 15 | Download | |
|
G7 (repaired).stl |
0.30 MiB | 45 min <1 m | 30 x 22 x 15 | Download | |
|
H1 (repaired).stl |
15.03 MiB | 20 h 10 min 12 m | 159 x 74 x 93 | Download | |
|
H2 (repaired).stl |
4.38 MiB | 34 h 7 min 20 m | 160 x 177 x 86 | Download | |
|
H3 (repaired).stl |
7.70 MiB | 35 h 30 min 21 m | 159 x 161 x 82 | Download | |
|
H4 (repaired).stl |
34.39 MiB | 27 h 25 min 15 m | 165 x 88 x 81 | Download | |
|
HG (repaired).stl |
0.54 MiB | 3 h 11 min 2 m | 92 x 73 x 29 | Download | |
|
M (repaired).stl |
0.86 MiB | 5 h 53 min 4 m | 68 x 44 x 39 | Download | |
|
R (repaired).stl |
2.45 MiB | 43 min <1 m | 20 x 32 x 13 | Download | |
|
T1 (repaired).stl |
3.53 MiB | 101 h 69 m | 173 x 178 x 86 | Download | |
|
T2 (repaired).stl |
0.71 MiB | 20 h 14 min 12 m | 120 x 88 x 54 | Download | |
|
T3 (repaired).stl |
4.97 MiB | 10 h 53 min 7 m | 98 x 85 x 33 | Download | |
|
T4 (repaired).stl |
5.53 MiB | 31 h 59 min 23 m | 170 x 189 x 28 | Download | |
|
T5 (repaired).stl |
0.41 MiB | 23 min <1 m | 20 x 20 x 13 | Download | |
|
W1 (repaired).stl |
1.60 MiB | 3 h 39 min 2 m | 53 x 53 x 26 | Download | |
|
W2 (repaired).stl |
1.60 MiB | 3 h 38 min 2 m | 53 x 53 x 26 | Download | |
|
W3 (repaired).stl |
4.52 MiB | 6 h 43 min 4 m | 55 x 55 x 42 | Download | |
|
W4 (repaired).stl |
4.52 MiB | 6 h 41 min 4 m | 55 x 55 x 42 | Download | |
| ... | |||||
This should take overall.
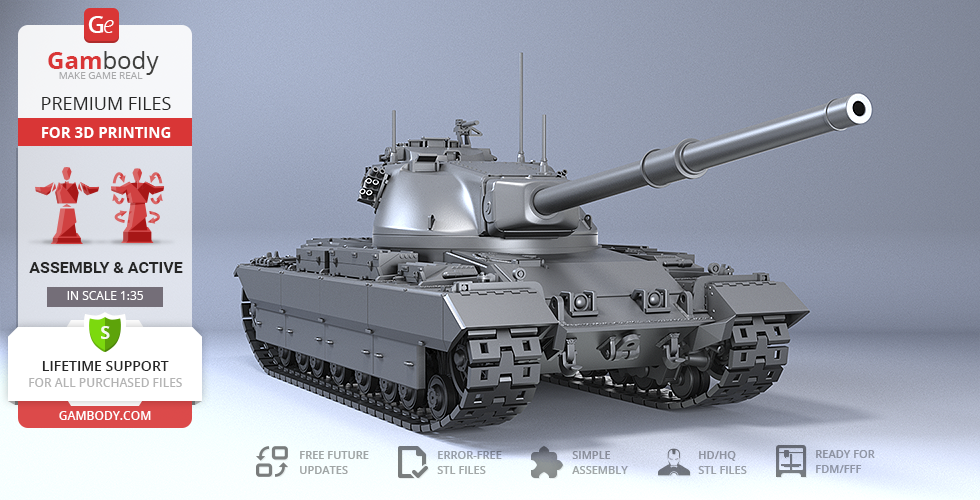
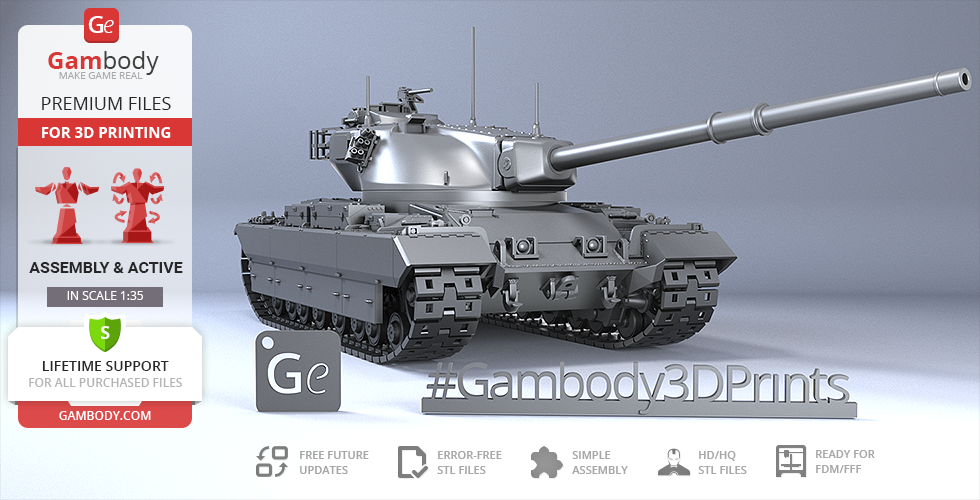
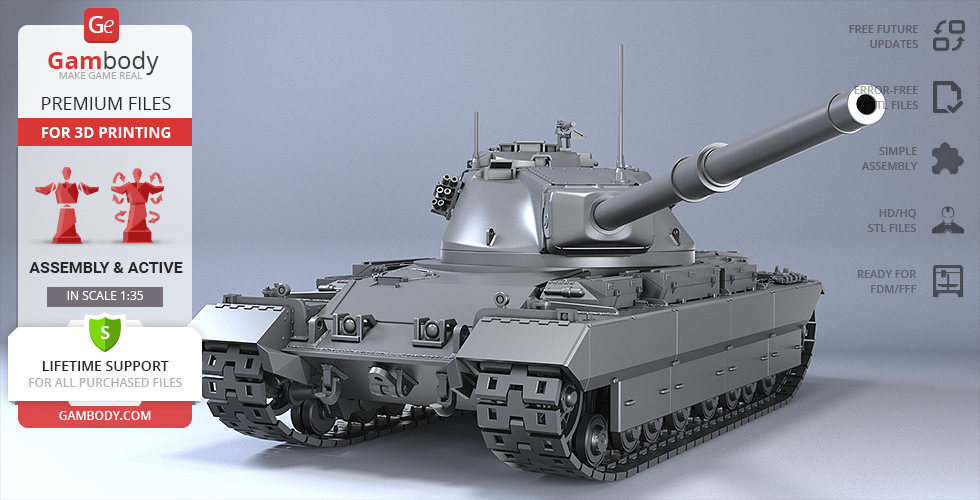
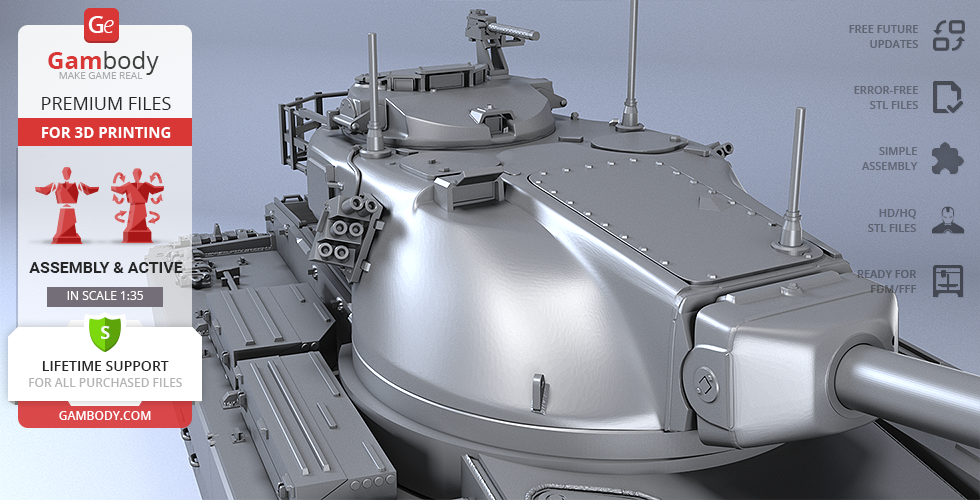
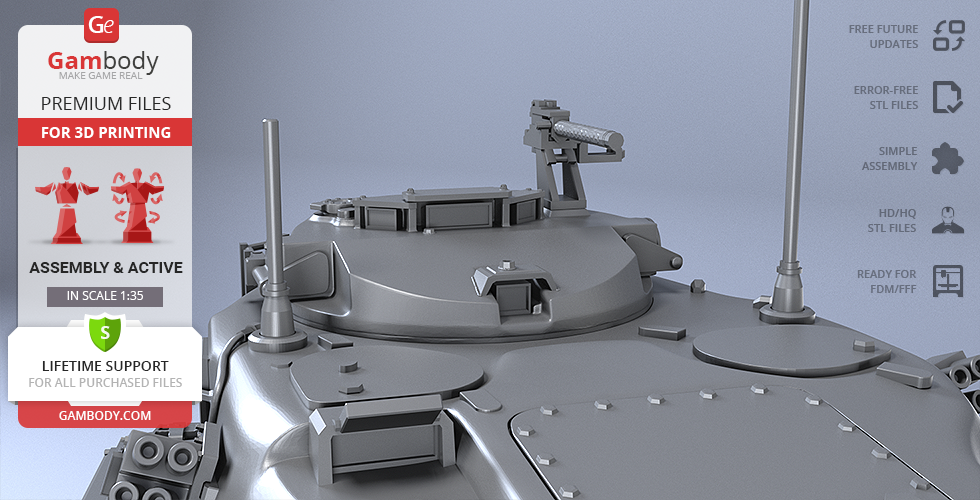
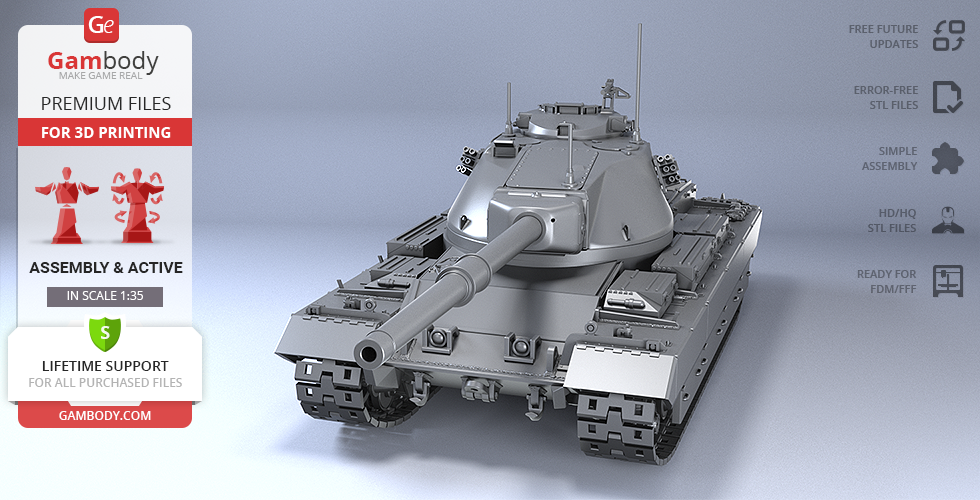
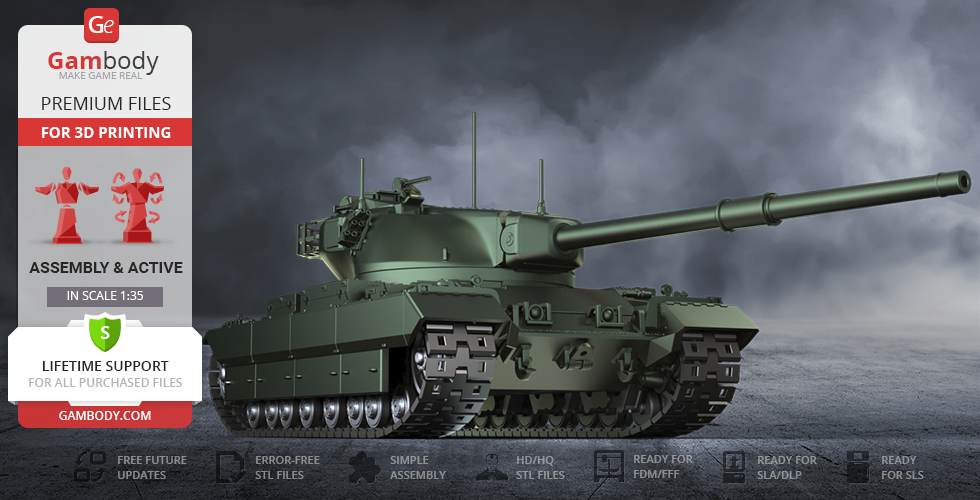
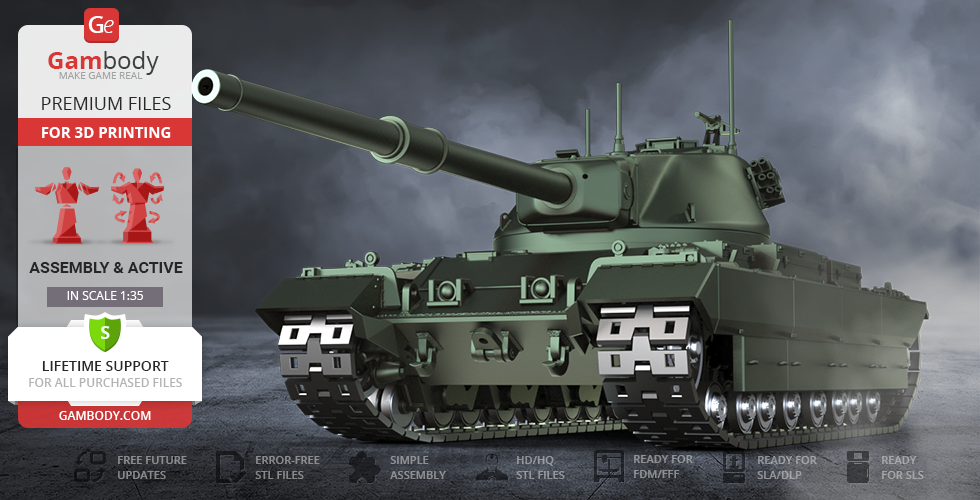
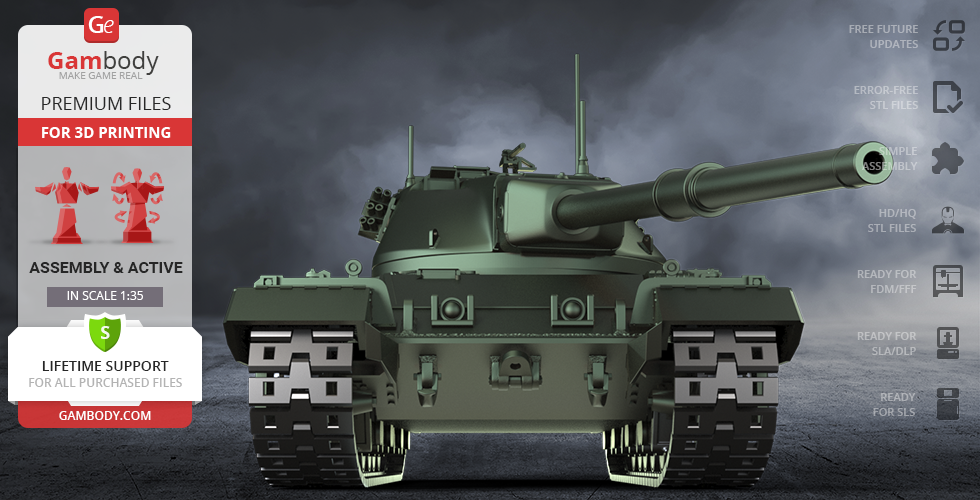
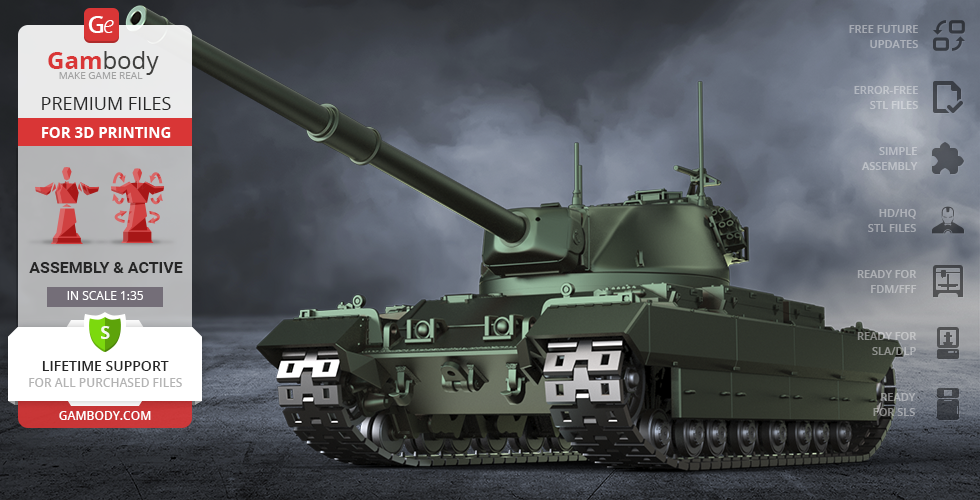
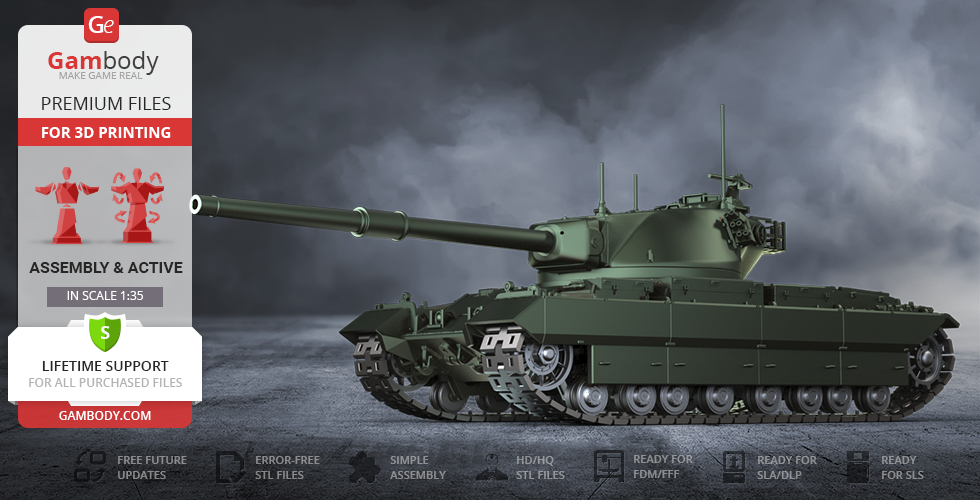
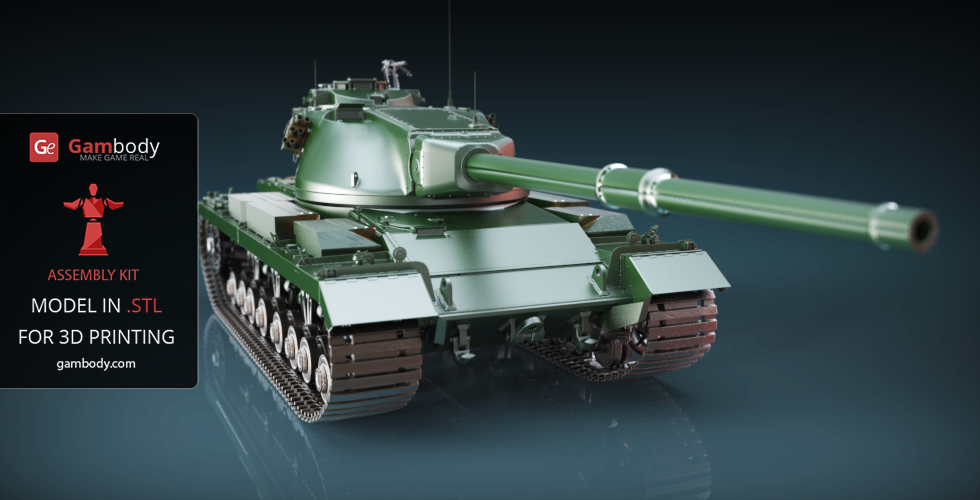
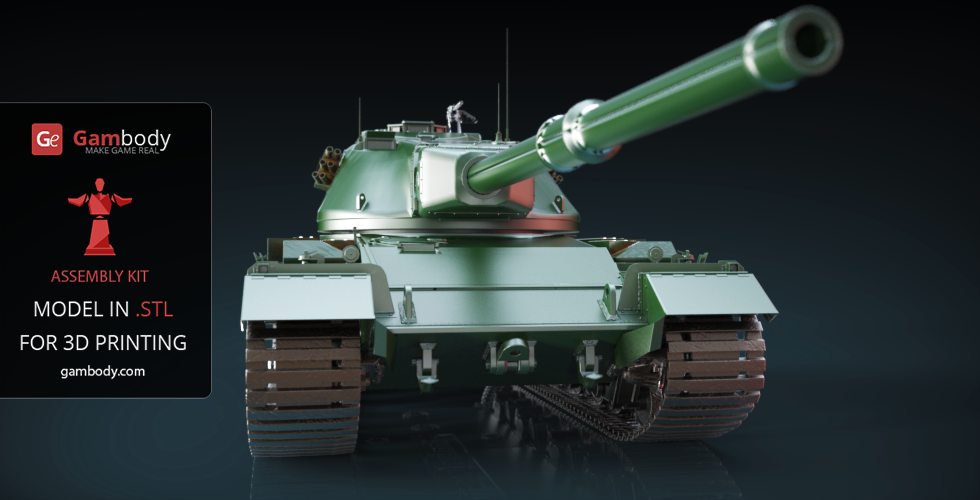
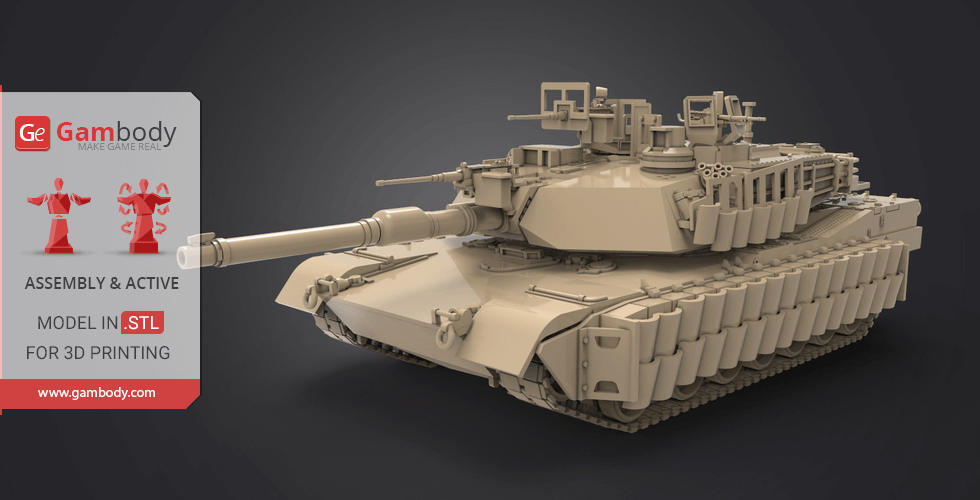
ABOUT THIS 3D MODEL
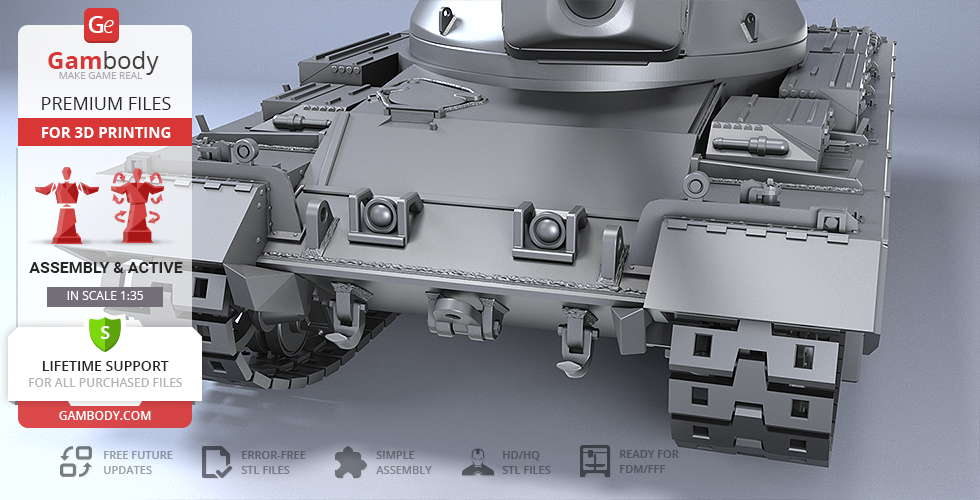
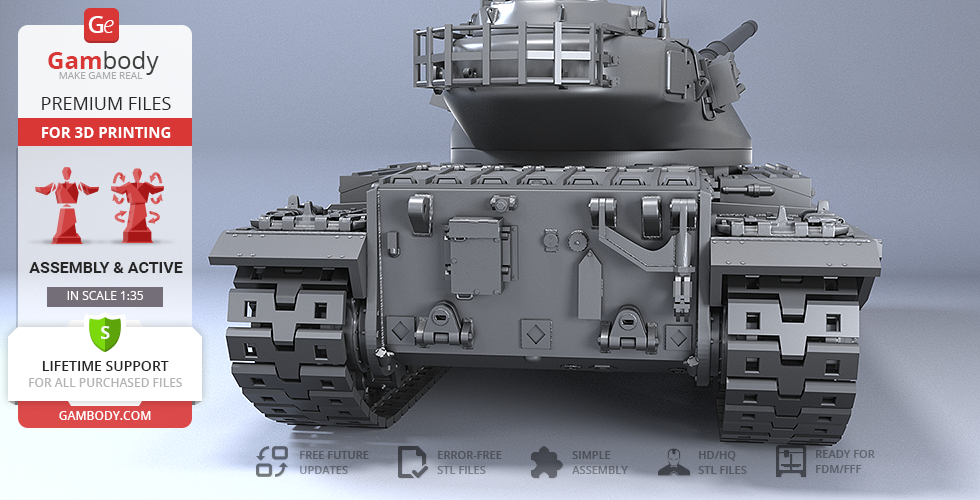
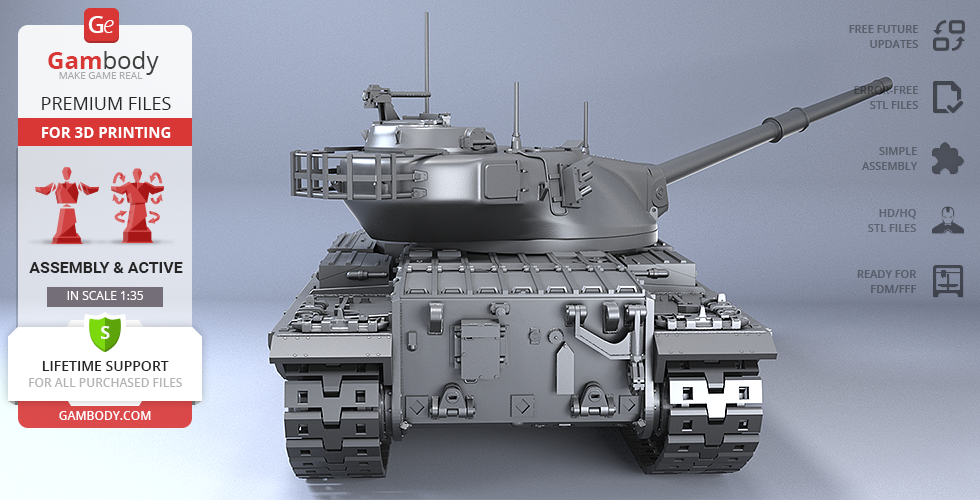
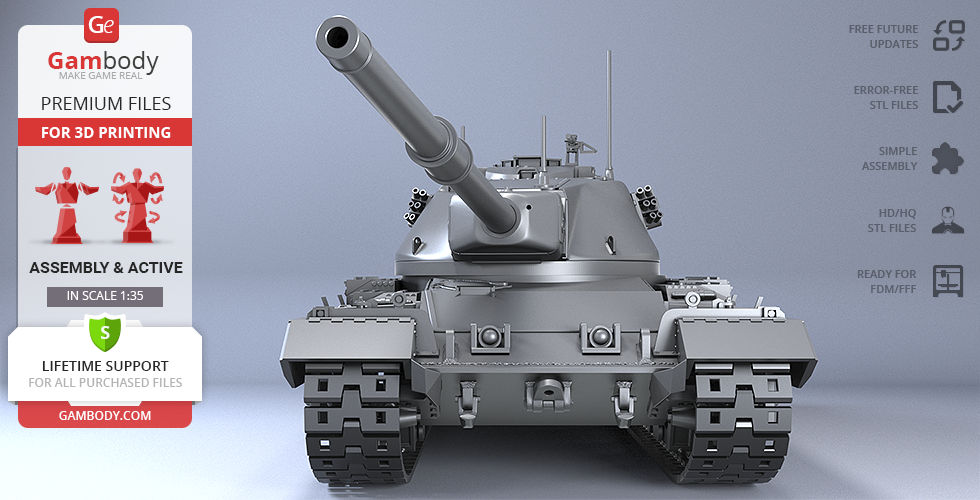
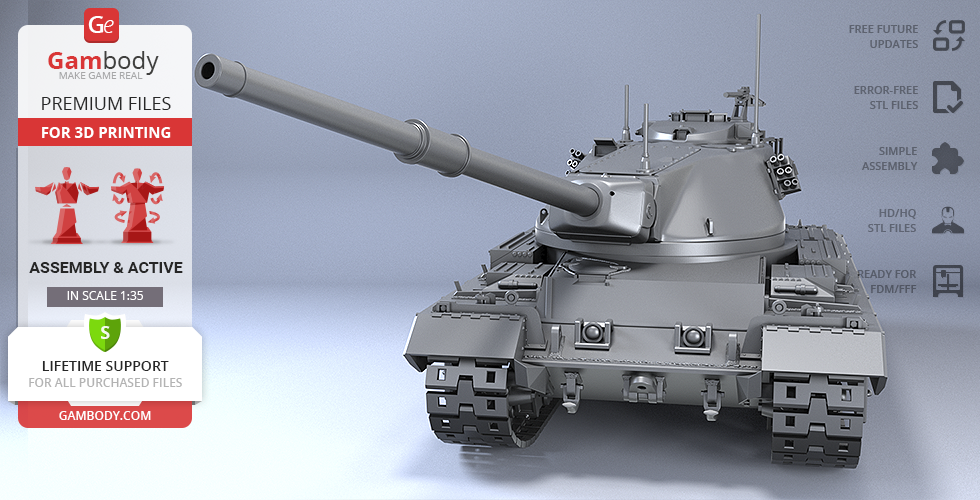
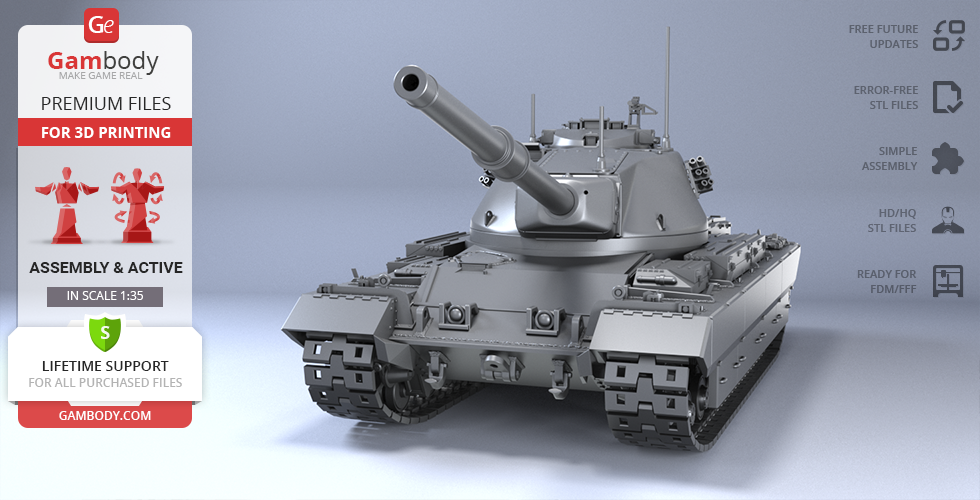
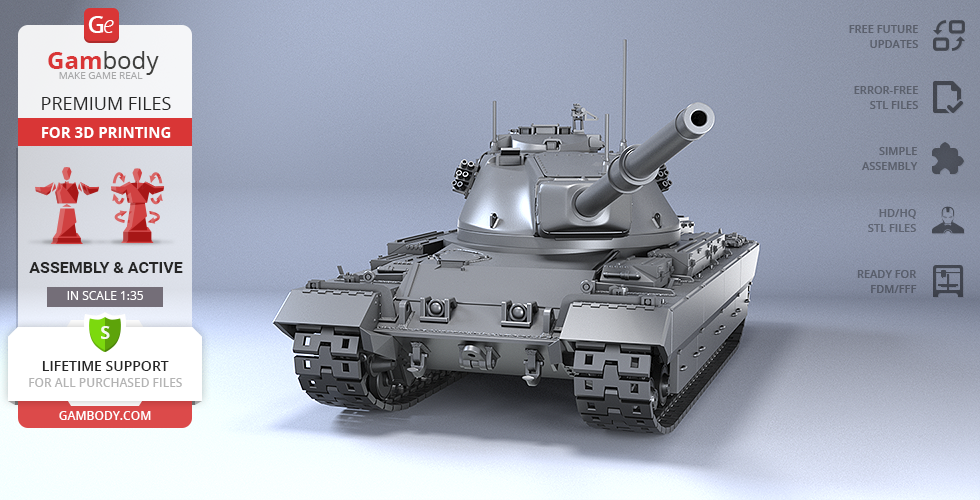
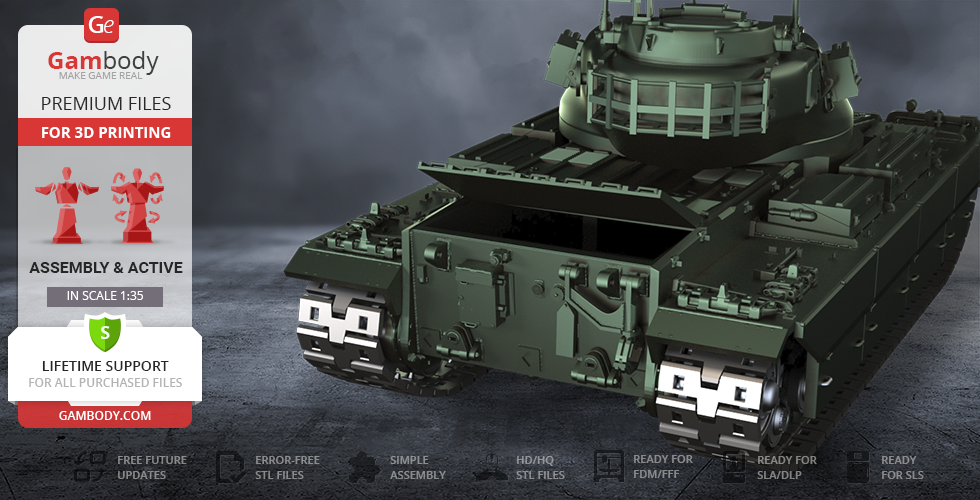
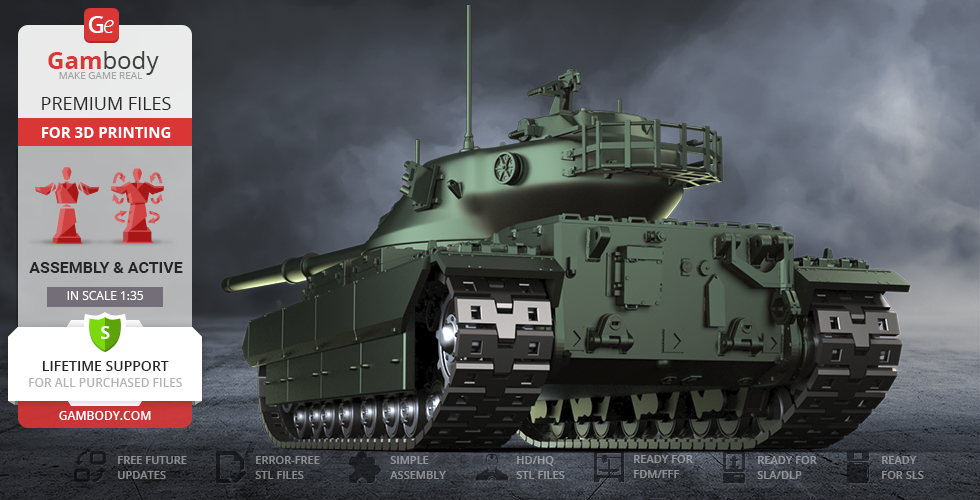
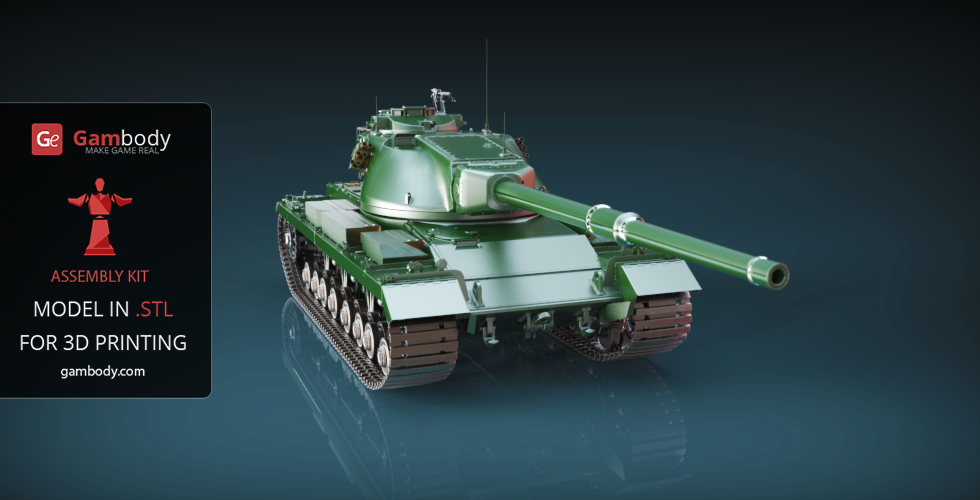
Conqueror Tank, also known as “The FV 214” or ”Tank, Heavy No. 1, 120 mm Gun, Conqueror" is a mighty and heavy 9th-level British tank that was manufactured from 1949 through 1952 and was actually the last British Heavy Tank in service. Being initially created so to counterpose new heavy Soviet tanks when the cold war was at its hottest, the Conqueror tank turned out to be too large and heavy to potentially provide long-range fire support on the battlefield. Therefore, only a total of 185 vehicles were mass-produced from 1955 through 1959. And although, fortunately, the Conquerors never saw any actual use aside from training, its design was interesting enough both for tank replicas modelling enthusiasts and was featured in many well-known and widely played massively multiplayer online games. Either being inspired by the Conqueror tank’s design or being an avid video games player, the author of this 3D printing model came up with his own design to make sure that any tank fan will be able to obtain one’s own British vehicle by means of 3D printing. The main advantage of this heavy tank is said to be its rapid-fire gun, which is extremely effective against infantry as well as other machinery with insufficient armour plating. These, as well as many other features the 3D artist implemented in his model that will surely have its well-deserved place in your collection!
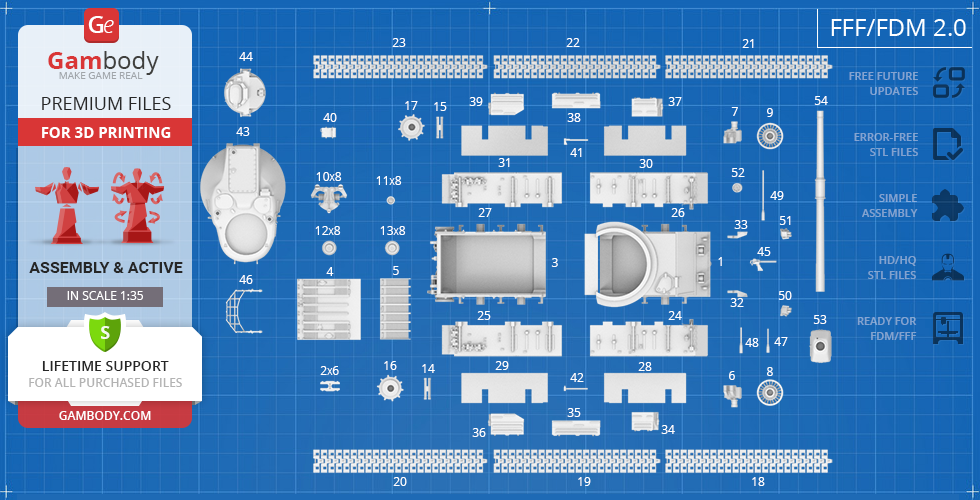
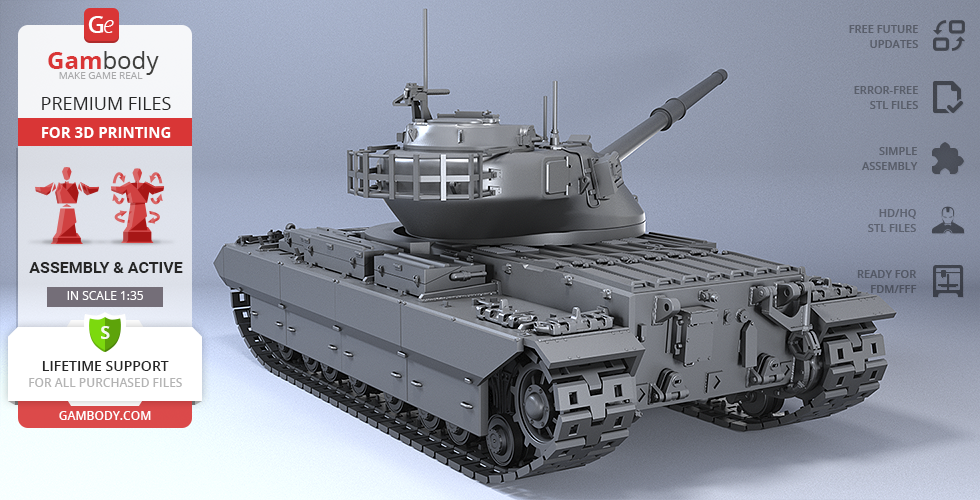
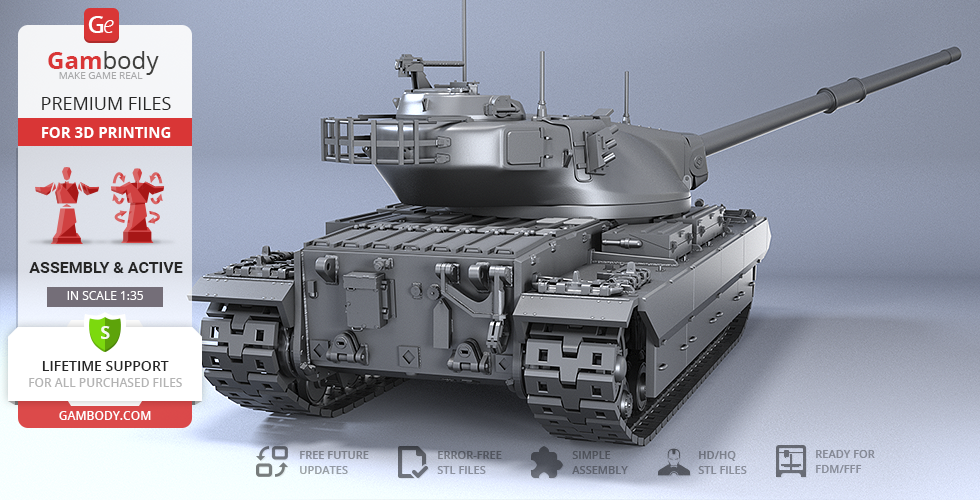
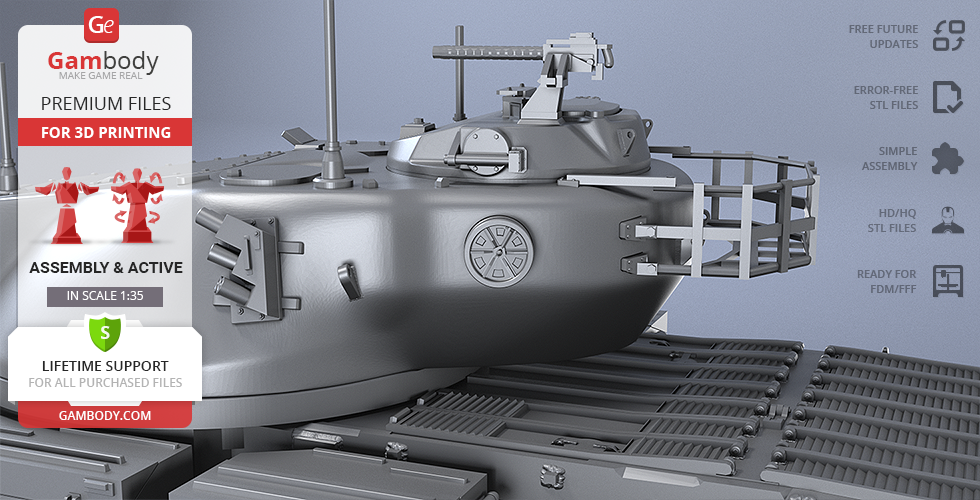
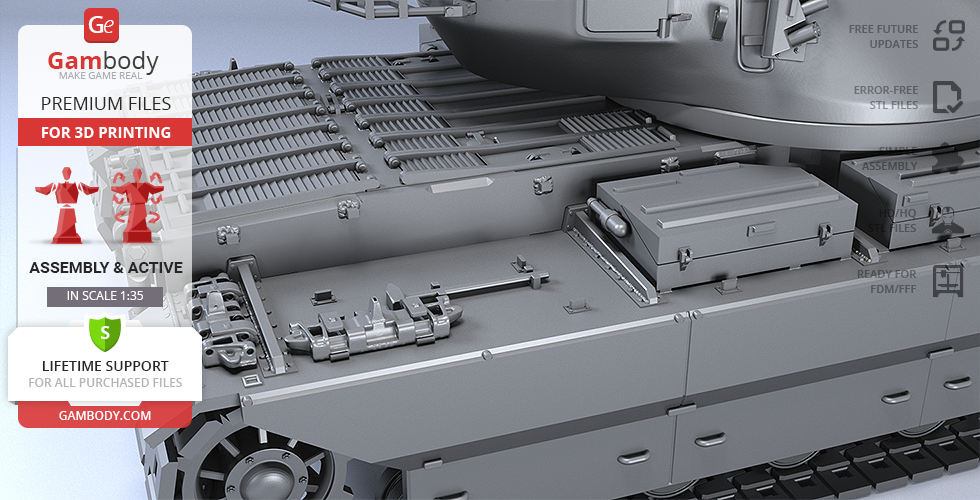
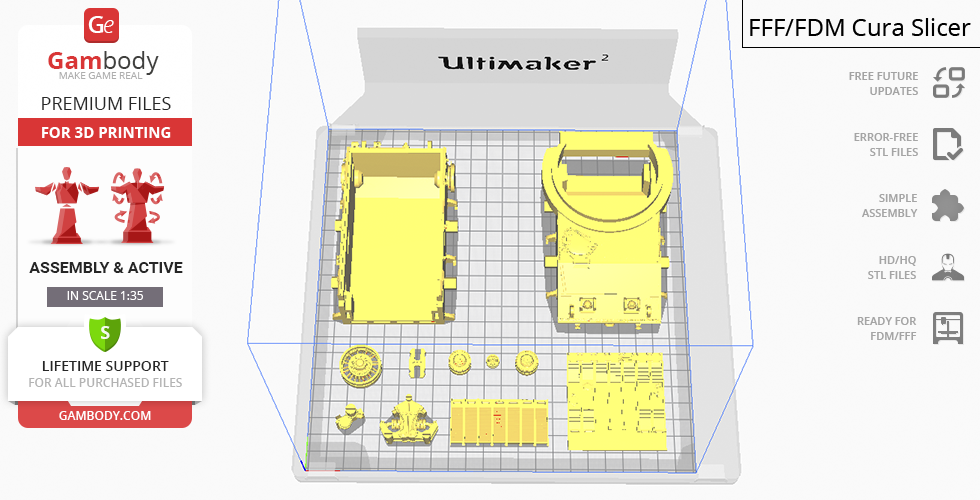
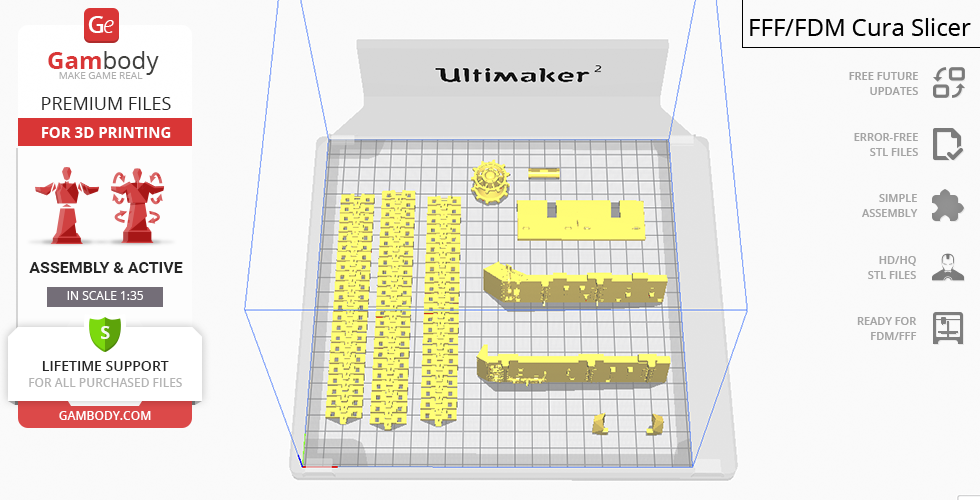
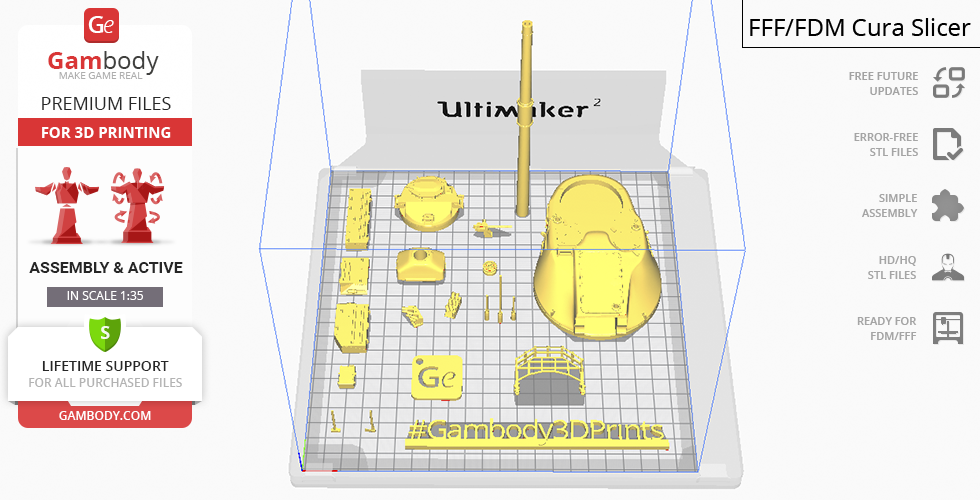
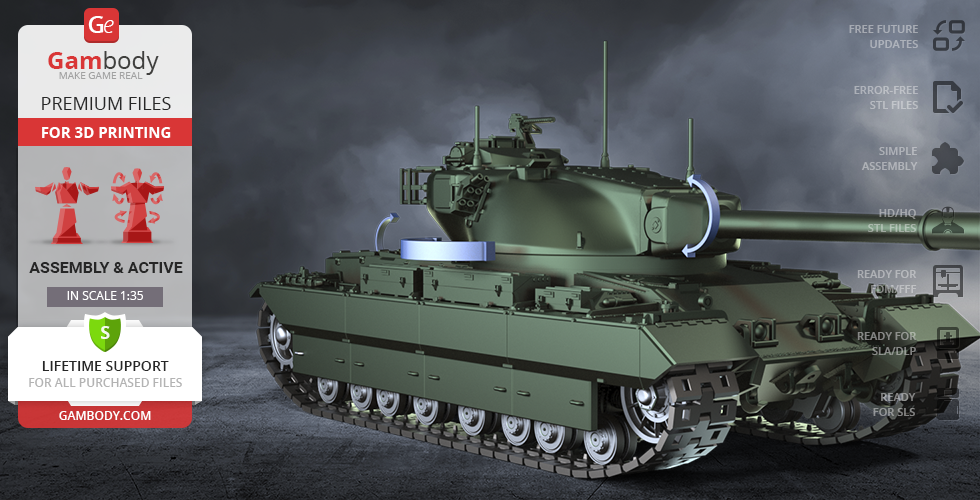
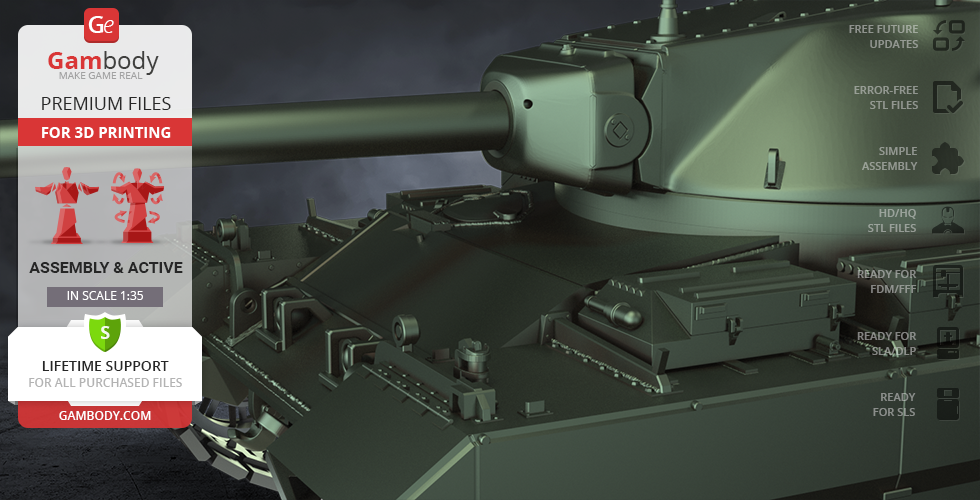
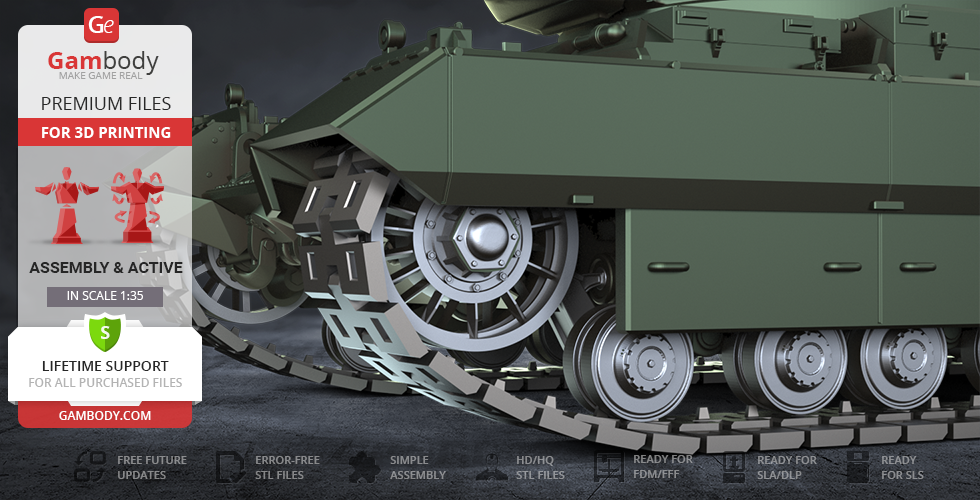
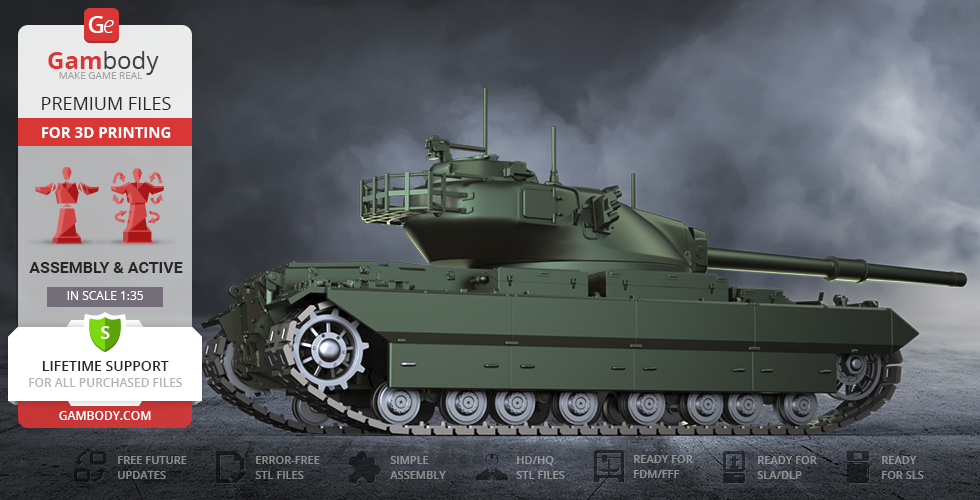
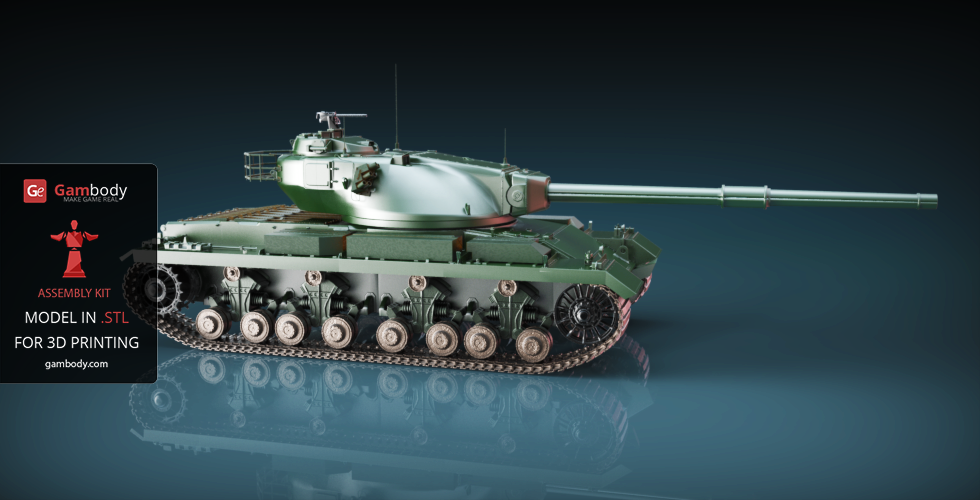
ADAPTATION FOR 3D PRINTING (FFF/FDM 2.0)
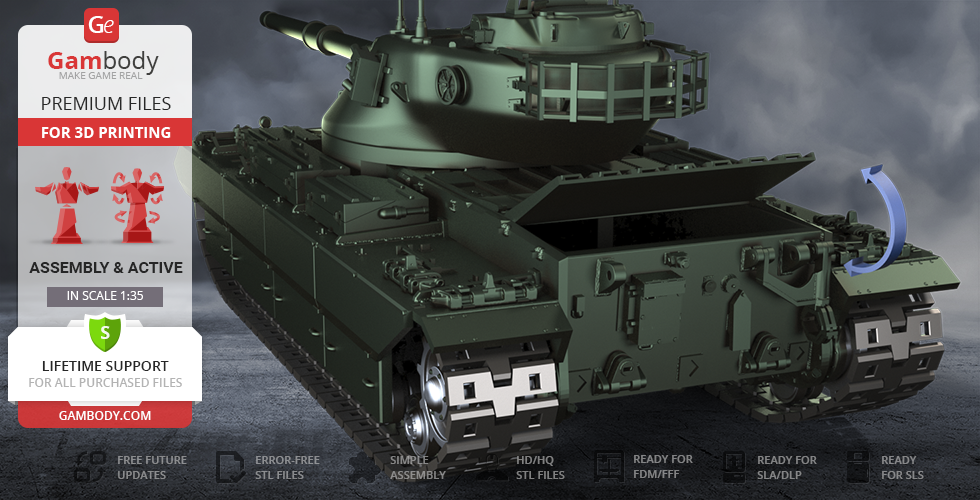
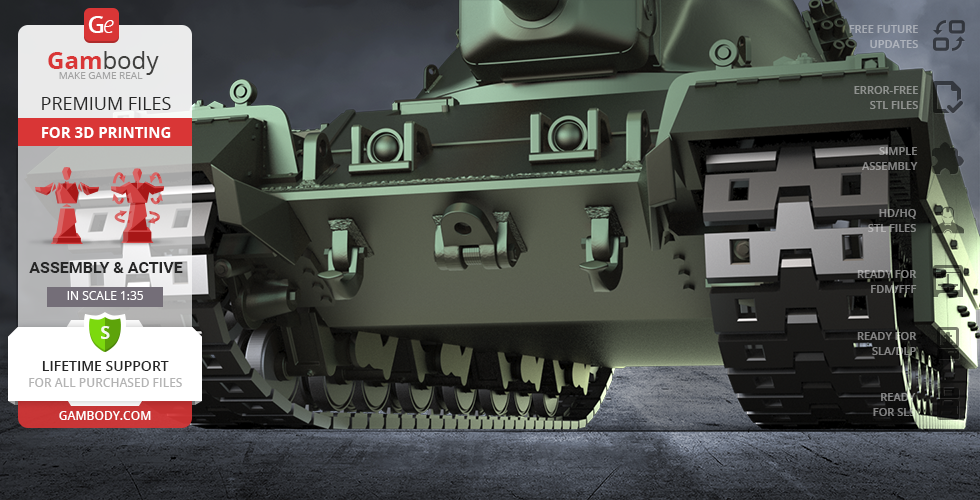
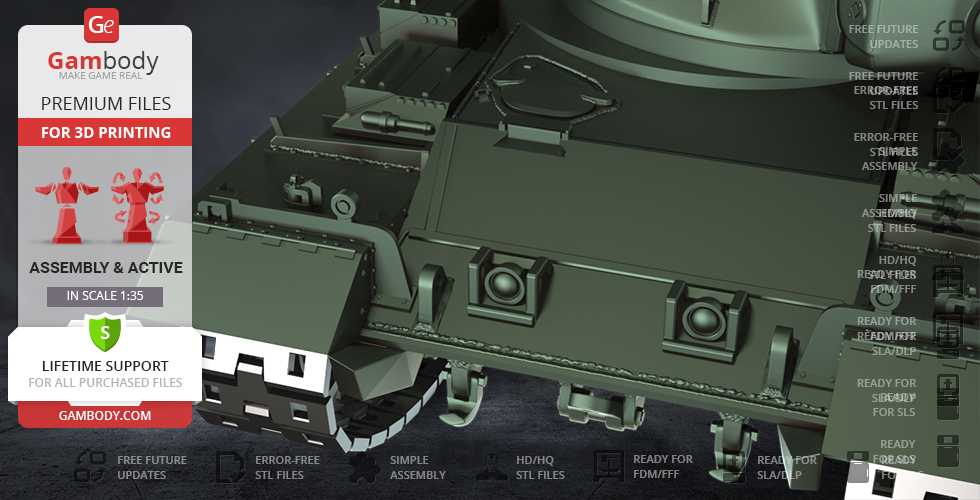
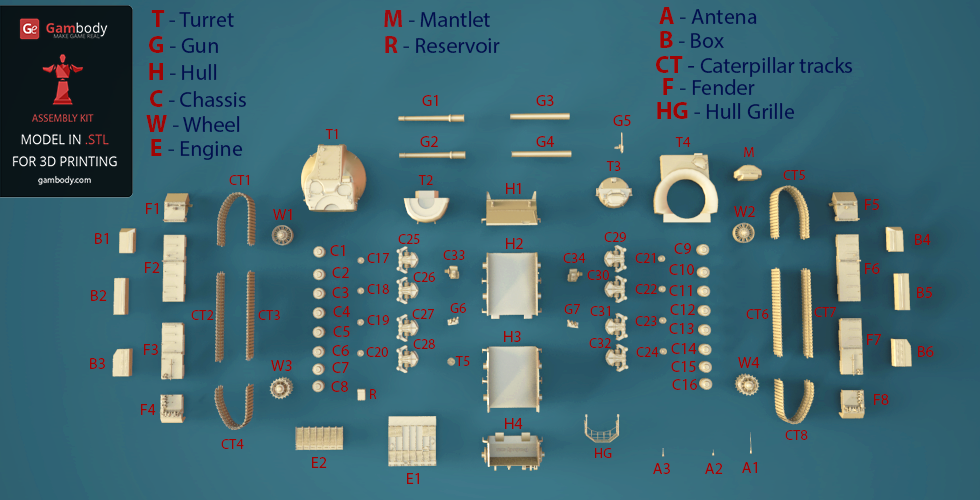
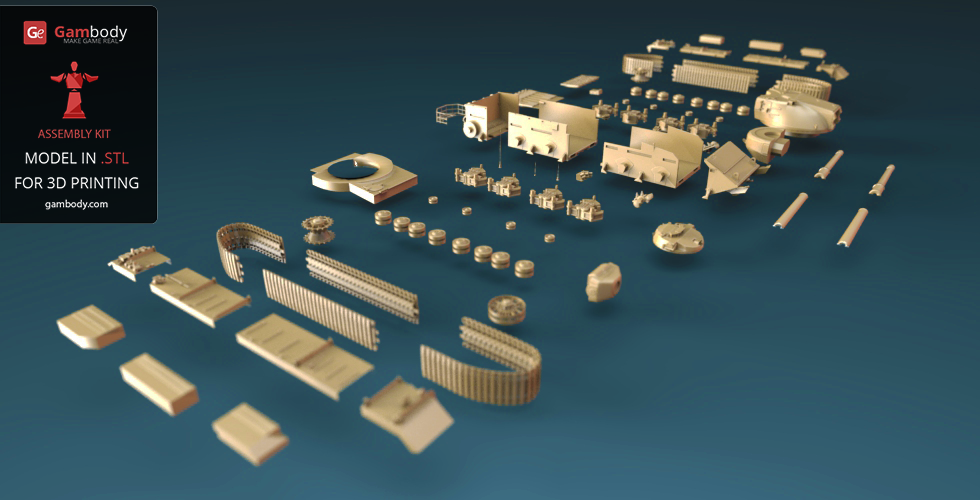
Conqueror Tank for 3D printing is an articulated assembly model and its updating and adaptation for 3D printing took Gambody team 65 hours in total. This tank was first released on Gambody in 2015 and for the model to correspond with the rapid development of 3D printing, the decision was reached to update the tank taking into account the advancements of the technology and all the improvements that can be introduced. So for all the tanks enthusiasts to achieve the best 3D printed result possible, all model’s fine details were tended to, the general level of detail was significantly enhanced and new mechanisms were introduced. In order to ensure the cleanest printing result possible and to minimise the amount of filament needed for generated support the Conqueror Tank model was divided into many assembly parts, e.g. the model’s hatch, antennae, armoured skirt, turret, barrel etc. are provided as separate STL files. Besides, in order to ensure the model’s forward movement, there was a special mechanism introduced that enables the articulation of newly designed multi-section caterpillar tracks. Moreover, for your printed Conqueror Tank to become a part of an impressive battle scene, the model’s turret was made rotating, the barrel - movable and the engine compartment can now be opened. All the assembly parts are provided in STL files in recommended positions that were worked out so to ensure the smoothness of the details’ surfaces after printing and so that the 3D printing beginners won't face difficulties when placing the parts on a build plate.
The model is saved in STL files, a format supported by most 3D printers. All STL files for 3D printing have been checked in Netfabb and no errors were shown.
The model's scale was calculated from the tank's actual length that is 12000 mm. The 3D printing model's chosen scale is 1:35 for its FFF/FDM version.
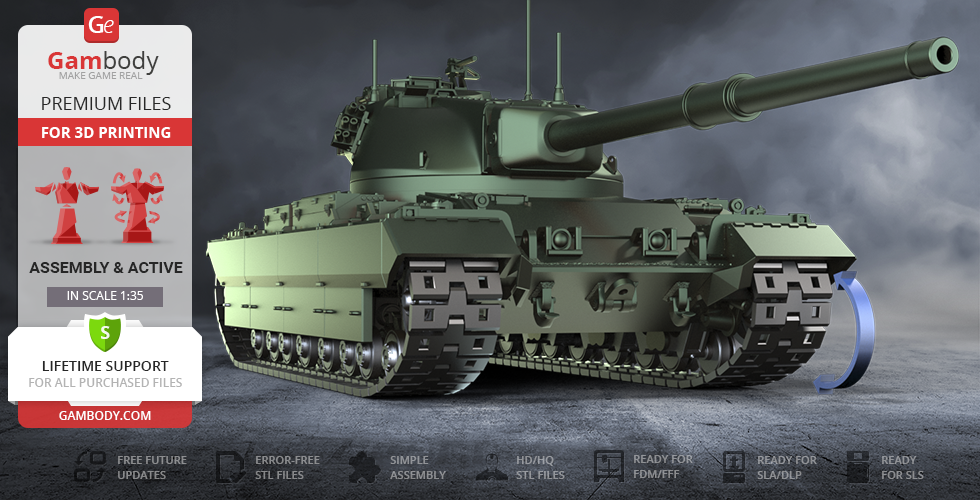
VERSIONS' SPECIFICATIONS
FFF/FDM 2.0 version features:
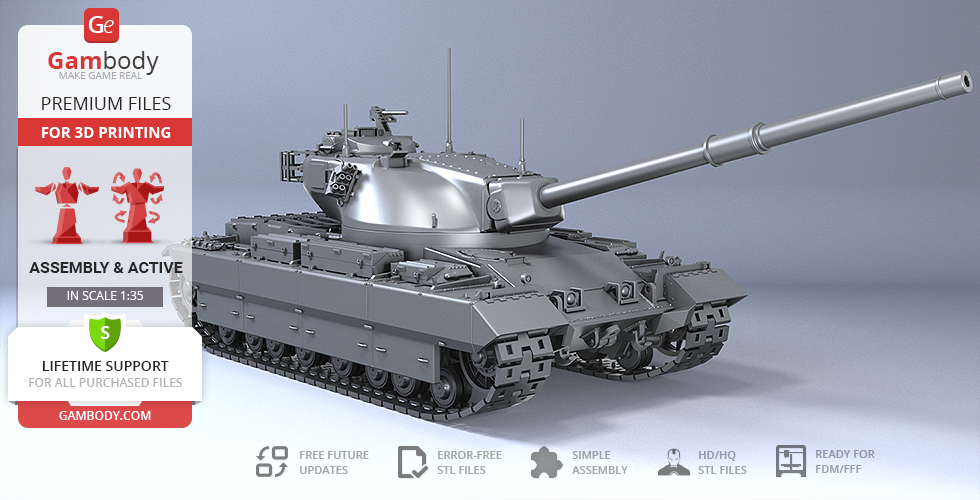
- Contains 54 parts;
- The tank's scale is 1:35;
- A printed model is 124 mm tall, 119 mm wide, 332 mm deep;
- Assembly kit includes lock 2_Ge_lock_10H_x6 to connect the parts of tank's hull securely without glue that needs to be printed 6 times;
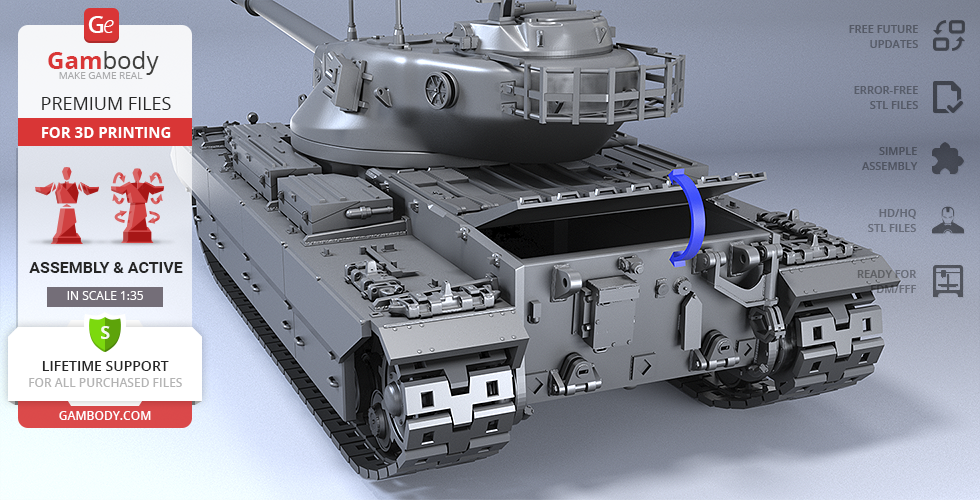
- Made with fully articulated caterpillar tracks, rotating turret, movable barrel and opening engine compartment;
- All parts are divided in such a way that you will print them with the smallest number of support structures.
FFF/FDM 1.0 and FFF/FDM 1.1 versions feature:
- The initial versions of the model that were released in 2015 and lack a high level of detail, some design elements, etc.;
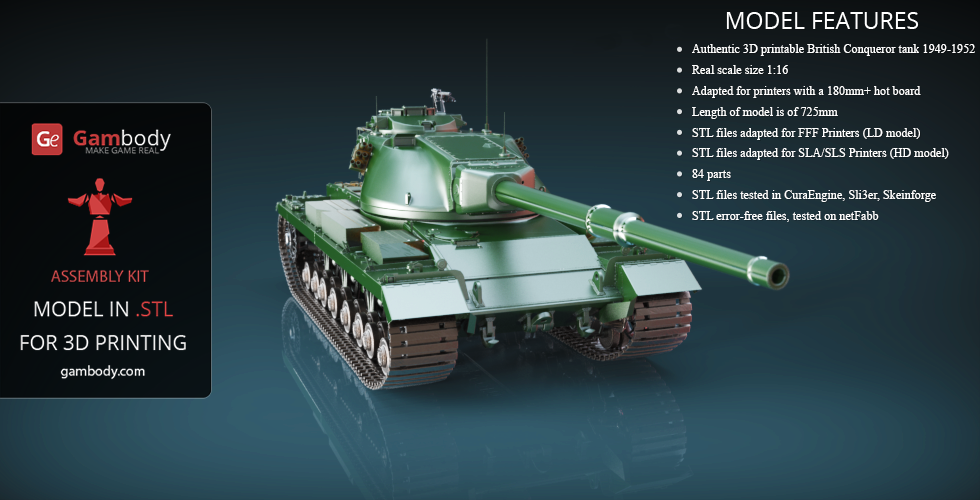
- Contain 84 parts;
- A printed model is 270 mm tall, 250 mm wide, 725 mm deep;
- The tank's scale is 1:16.
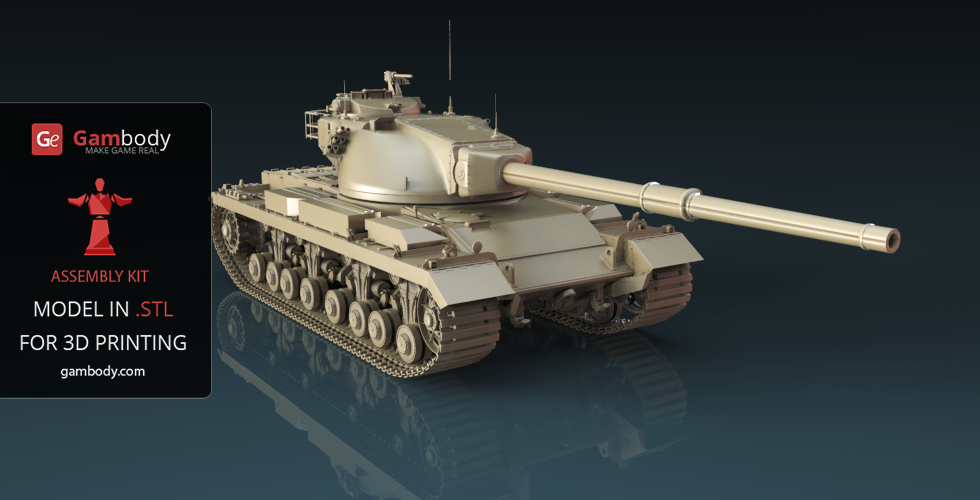
WHAT WILL YOU GET AFTER PURCHASE?
- STL files of Conqueror Tank 3D Model for 3D printing which consist of 54 parts for the latest updated FFF/FDM 2.0 version;
- 3 versions of files for this model for FFF/FDM printers;
- High-poly detailed model of Conqueror Tank;
- Detailed settings that we provide as a recommendation for Cura , Simplify3D and Slic3r for the best print;
- Full technical support from the Gambody Support Team.
You can get the model of Conqueror Tank for 3D Printing immediately after the purchase! Just click the green Buy button in the top-right corner of the model’s page. You can pay with PayPal or your credit card.
Watch the tutorial on how to assemble Conqueror Tank 3D Printing Model at Gambody YouTube channel.
Also, you may like other Tanks 3D Printing Models.
_______
FAQ:
Where can I print a model if I have no printer?
How to get started with 3D printing?
How to set up my 3D printer?
How to choose right 3D model print bed positioning?
How to paint printed figurine?
This model was tested in Cura 3.4.1 and printed on an Ultimaker 2 in PLA material. Below you can find printing recommendations for Cura, Simplify3D and Slic3r softwares.
Recommendations: For all parts of Locks you need to change "Brim" type to "Skirt" in Build Plate Adhesion section.
To avoid printing problems, we recommend the following settings:
Quality
Layer Height: 0.1 mm
Initial Layer Height: 0.3 mm
Line Width: 0.4 mm
Wall Line Width: 0.4 mm
Outer Wall Line Width: 0.4 mm
Inner Wall(s) Line Width: 0.4 mm
Top/Bottom Line Width: 0.4 mm
Infill Line Width: 0.4 mm
Skirt/Brim Line Width: 0.4 mm
Support Line Width: 0.4 mm
Initial Layer Line Width: 100%
Shell
Wall Thickness: 0.8 mm
Wall Line Count: 2
Outer Wall Wipe Distance: 0.2 mm
Top Surface Skin Layers: 0
Top/Bottom Thickness: 0.8 mm
Top Thickness: 0.8 mm
Top Layers: 8
Bottom Thickness: 0.8 mm
Bottom Layers: 8
Top/Bottom Pattern: Lines
Bottom Pattern Initial Layer: Lines
Top/Bottom Line Directions: [ ]
Outer Wall Inset: 0 mm
Compensate Wall Overlaps: Check
Compensate Outer Wall Overlaps: Check
Compensate Inner Wall Overlaps: Check
Fill Gaps Between Walls: Everywhere
Filter Out Tiny Gaps: Check
Horizontal Expansion: 0 mm
Initial Layer Horizontal Expansion: 0 mm
Z Seam Alignment: Sharpest Corner
Seam Corner Preference: Hide Seam
Ignore Small Z Gaps: Check
Extra Skin Wall Count: 1
Infill
Infill Density: 20%
Infill Line Distance: 4.0 mm
Infill Pattern: Grid
Infill Line Directions: [ ]
Infill X Offset: 0 mm
Infill Y Offset: 0 mm
Infill Overlap Percentage: 10%
Infill Overlap: 0.04 mm
Skin Overlap Percentage: 5%
Skin Overlap: 0.02 mm
Infill Wipe Distance: 0.1 mm
Infill Layer Thickness: 0.1 mm
Gradual Infill Steps: 1
Gradual Infill Steps Height: 1.5 mm
Infill Before Walls: Check
Minimum Infill Area: 0 mm2
Skin Removal Width: 0.8 mm
Top Skin Removal Width: 0.8 mm
Bottom Skin Removal Width: 0.8 mm
Skin Expand Distance: 0.8
Top Skin Expand Distance: 0.8
Bottom Skin Expand Distance: 0.8
Maximum Skin Angle for Expansion: 90˚
Minimum Skin Width for Expansion: 0.0
Material
Initial Layer Flow: 100%
Enable Retraction: Check
Retraction Extra Prime Amount: 0 mm3
Retraction Minimum Travel: 0.8 mm
Maximum Retraction Count: 90
Minimum Extrusion Distance Window: 6.5 mm
Nozzle Switch Retraction Distance: 16 mm
Nozzle Switch Retraction Speed: 20 mm/s
Nozzle Switch Retract Speed: 20 mm/s
Nozzle Switch Prime Speed: 20 mm/s
Speed
Print Speed: 45 mm/s
Infill Speed: 45 mm/s
Wall Speed: 22.5 mm/s
Outer Wall Speed: 22.5 mm/s
Inner Wall Speed: 45 mm/s
Top/Bottom Speed: 15 mm/s
Travel Speed: 45 mm/s
Initial Layer Speed: 22.5 mm/s
Initial Layer Print Speed: 22.5 mm/s
Initial Layer Travel Speed: 30 mm/s
Skirt/Brim Speed: 30 mm/s
Maximum Z Speed: 0 mm/s
Number of Slower Layers: 2
Travel
Combing Mode: All
Avoid Printed Parts when Traveling: Check
Travel Avoid Distance: 0.625 mm
Layer Start X: 0.0 mm
Layer Start Y: 0.0 mm
Cooling
Enable Print Cooling: Check
Fan Speed: 100%
Regular Fan Speed: 100%
Maximum Fan Speed: 100%
Regular/Maximum Fan Speed Threshold: 10 s
Initial Fan Speed: 0%
Regular Fan Speed at Height: 0.3 mm
Regular Fan Speed at Layer: 2
Minimum Layer Time: 5 s
Minimum Speed: 10 mm/s
Support
Generate Support: Check
Support Placement: Everywhere
Support Overhang Angle: 50°
Support Pattern: Zig Zag
Connect Support ZigZags: Check
Support Density: 15 %
Support Line Distance: 3 mm
Support Z Distance: 0.1 mm
Support Top Distance: 0.1 mm
Support Bottom Distance: 0.1 mm
Support X/Y Distance: 1 mm
Support Distance Priority: Z overrides X/Y
Minimum Support X/Y Distance: 0.25 mm
Support Stair Step Height: 0.3 mm
Support Stair Step Maximum Width: 5.0 mm
Support Join Distance: 2.0 mm
Support Horizontal Expansion: 0.2 mm
Support Infill Layer Thickness: 0.1 mm
Gradual Support Infill Steps: 0
Use Towers: Check
Tower Diameter: 3.0 mm
Minimum Diameter: 3.0 mm
Tower Roof Angle: 65°
Build Plate Adhesion
Build Plate Adhesion Type: Brim (for all parts of locks use "Skirt")
Skirt/Brim Minimum Length: 250 mm
Brim Width: 8.0 mm
Brim Line Count: 18
Brim Only on Outside: Check
Mesh Fixes
Union Overlapping Volumes: Check
Merged Meshes Overlap: 0.15 mm
Special Modes
Print Sequence: All at Once
Surface Mode: Normal
Experimental
Slicing Tolerance: Middle
Maximum Resolution: 0.01 mm
Flow rate compensation max extrusion offset: 0 mm
Flow rate compensation factor: 100%
Disclaimer: This model will look outstanding if printed on SLA/SLS 3D printer. The accuracy of the model printed on FFF printer can vary from the result shown in the pictures.
This model was tested with PLA material.
To avoid printing problems, we recommend the following settings:
Extruder
Nozzle Diameter: 0.4 mm
Extrusion Multiplier: 0.97
Extrusion Width: Auto
Retraction Distance: 5.00 mm
Extra Restart Distance: 0.00 mm
Retraction Vertical Lift: 0.08 mm
Retraction Speed: 5400.0 mm/min
Wipe Distance: 5.00 mm
Layer
Primary Layer Height: 0.2 mm
Top Solid Layers: 8
Bottom Solid Layers: 5
Outline/Perimeter Shells: 2
Outline Direction: Inside-Out
First Layer Height: 90%
First Layer Width: 100%
First Layer Speed: 20%
Additions
Use Skirt/Brim: Check
Skirt Layers: 1
Skirt Offset from Part: 6.00 mm
Skirt Outlines: 5
Infill
Internal Fill Pattern: Fast Honeycomb
External Fill Patern: Rectilinear
Interior Fill Percentage: 10%
Outline Overlap: 22%
Infill Extrusion Width: 100%
Minimum Infill Length: 5.00 mm
Combine Infill Every: 1 layers
External Infill Angle Offsets: 45/-45 deg
Support
Generate Support Material: Check
Support Infill Percentage: 15%
Extra Inflation Distance: 1.00 mm
Support Base Layers: 0
Combine Support Every: 1 layers
Dense Support Layers: 0
Dense Infill Percentage: 70%
Support Type: Normal
Support Pillar Resolution: 5.00 mm
Max Overhang Angle: 60 deg
Horizontal Offset From Part: 0.50 mm
Upper Vertical Separation Layers: 1
Lower Vertical Separation Layers: 1
Support Infill Angles: 45 deg
Temperature
Extruder 1 Temperature: 210
Heated Bed: 60
Cooling
Increase fan speed for layers below: 45.0 sec
Maximum Cooling fan speed: 50%
Bridging fan speed override: 100%
Speeds
Default Printing Speed: 4800.0 mm/min
Outline Underspeed: 50%
Solid Infill Underspeed: 80%
Support Structure Underspeed: 80%
X/Y Axis Movement Speed: 10800.0 mm/min
Z Axis Movemen Speed: 1002.0 mm/min
Adjust printing speed for layers below: 15.0 sec
Allow speed reduction down to: 20%
Other
Unsupported area threshold: 20.0 sq m
Layer height
Layer height: 0.1 mm
First layer height: 90%
Vertical shells
Perimeters: 2
Horizontal shells
Soid layers:
Top: 8
Bottom: 5
Quality
Detect thin walls: Check
Detect bridging perimeters: Check
Advanced
Seam position: Random
Infill
Fill desity: 20%
Fill pattern: Honeycomb
Top/bottom fill pattern: Rectilinear
Reducing printing time
Combine infill every: 1 layers
Advanced
Solid infill every: 0 layers
Fill angle: 25 deg
Solid infill threshold area: 0mm
Skirt
Loops: 2
Distance from object: 6 mm
Skirt height: 1 layers
Minimum extrusion length: 4 mm
Brim
Brim width: 10 mm
Support material
Generate support material: Check
Overhang threshold: 45 deg
Enforce support for the first: 3 layers
Raft
Raft layers: 0 layers
Options for support material and raft
Contact Z distance: 0.1 mm
Pattern: Rectilinear
Patter spacing: 2 mm
Pattern angle: 0 deg
Interface layers: 2 layers
Interface pattern spacing: 0.2 mm
Speed for print moves
Perimeters: 60 mm/s
Small perimeters: 20 mm/s
External perimeters: 20 mm/s
Infill: 60 mm/s
Solid infill: 60 mm/s
Top solid infill: 30 mm/s
Support material: 50 mm/s
Support material interface: 100%
Bridges: 30 mm/s
Gap fill: 50 mm/s
Speed for non-print moves
Travel: 60 mm/s
Modifiers
First layer speed: 30 mm/s
Acceleration control
Perimeters: 800 mm/s
Infill: 1500 mm/s
Bridge: 1000 mm/s
First layer: 1000 mm/s
Default: 1000 mm/s
Autospeed
Max print speed: 100 mm/s
Max volumetrix speed: 0 mm/s
Extrusion width
Default extrusion width: 0.42 mm
First layer: 0.42 mm
Perimeters: 0.42 mm
External perimeters: 0.42 mm
Infill: 0.42 mm
Solid infill: 0.42 mm
Top solid infill: 0.42 mm
Support material: 0.42 mm
Overlap
Infill/Perimeters overlap: 20%
Flow
Bridge flow ratio: 0.95
Other
XY Size Compensation: 0 mm
Threds: 8
Resolution: 0 mm
conqueror, tanks, world of tanks, game tanks, extended, assembly, vehicles, upgrade
You are about to report Conqueror Tank 3D Printing Model | Assembly for violating our Terms and Conditions. Please take a few moments to fill in the following information.


Comments
comments powered by Disqus